 Save Pin
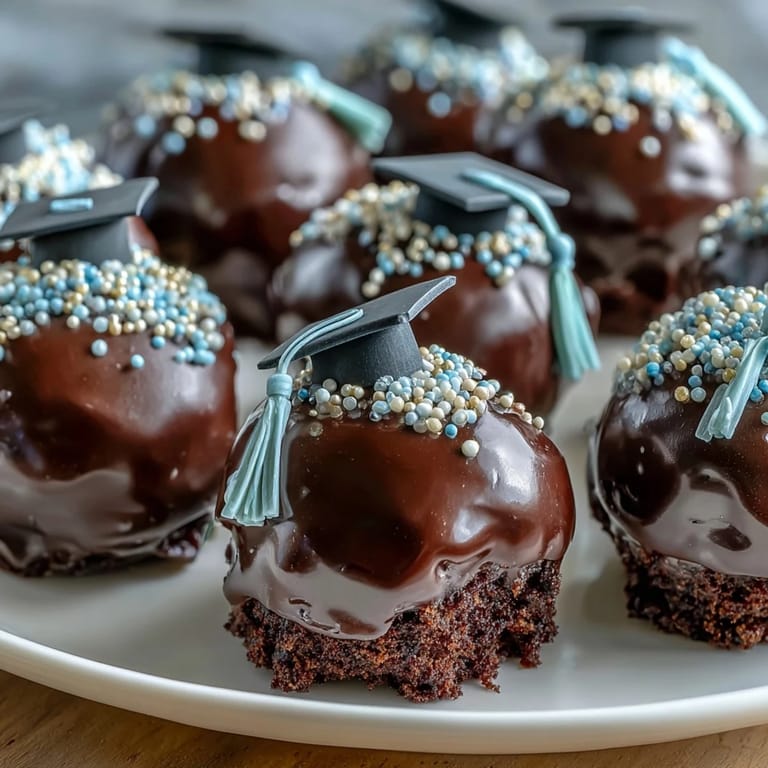
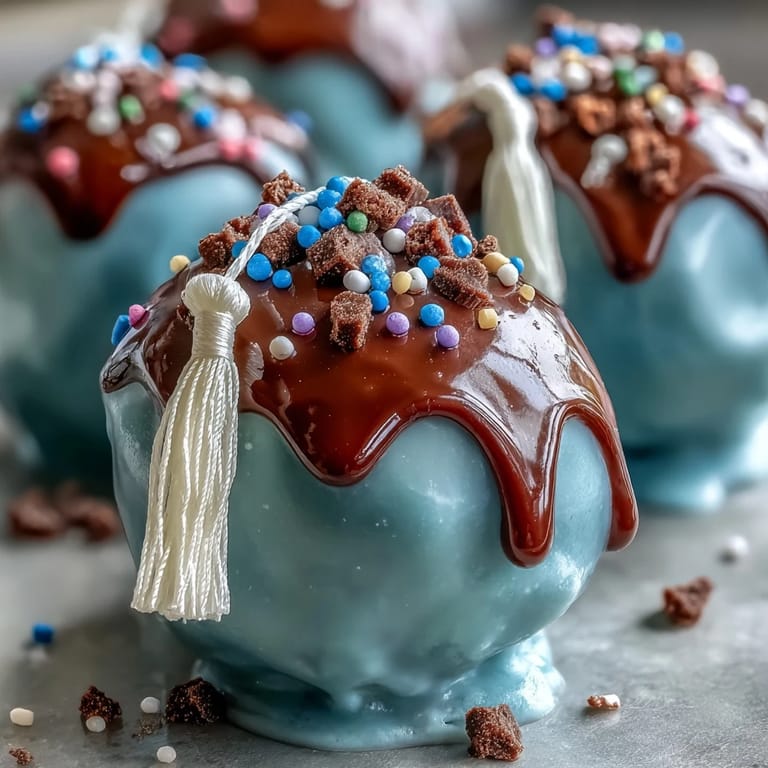
 The sound of the microwave beeping, the sweet smell of cake filling my kitchen, and tiny hands reaching for sprinkles—these are just a handful of moments that shape my memories of making graduation cake pops. In the midst of scattered textbooks and graduation gowns hung across the backs of chairs, I found myself inventing these cheerful treats as a way to mark a milestone with a smile. Customizing each pop in the school colors became a little ritual, almost meditative, as I dipped, decorated, and giggled at occasional lopsided attempts. There was something extra special about watching the colors brighten a tray exclusively for the day's big celebration. If you've ever been tasked with bringing dessert to a graduation party, you know how quickly these cake pops vanish the moment the tassels flip.
One Saturday morning before my cousin's graduation, we cleared space on the counter for an assembly line of cake pops. Everyone took part—my uncle handled the chocolate, my niece obsessed over sprinkles, and my aunt brushed fondant caps with edible glitter. By the end, our hands were covered in streaks of blue and gold, and more than a few cake pops were missing their tassels (but still tasted perfect). It was loud, messy, and entirely memorable, proof that food is often best when it's shared and imperfect.
Ingredients
- Vanilla or chocolate cake mix: Using a box mix saves time and guarantees a consistent crumb, but homemade cake adds a fresh flavor twist—make sure to cool it completely before starting.
- Cream cheese or buttercream frosting: Blend just enough to bind the crumbs; adding too much makes cake pops mushy, so start small and adjust.
- Candy melts or white chocolate (school colors): Candy melts are easiest for vibrant color, while white chocolate needs careful mixing with food coloring to avoid seizing.
- Vegetable shortening: A tablespoon or two can turn sticky chocolate silky and smooth for dipping.
- Sprinkles, colored sugar, edible glitter: The finishing touch—choose colors that represent your school, and don't be shy with sparkle.
- Lollipop sticks: Essential for serving and displaying; insert straight and steady for pops that won't wobble.
- Mini chocolate chips: Just right for creating tassel accents or tiny cap details.
- Fondant (optional): Use colored fondant for graduation cap toppers, and knead it well to prevent drying and cracking.
Tired of Takeout? 🥡
Get 10 meals you can make faster than delivery arrives. Seriously.
One email. No spam. Unsubscribe anytime.
Instructions
- Bake & Cool the Cake:
- Prepare cake mix or homemade cake as directed, and let it cool fully in the pan—rush this step and the cake will be too sticky for crumbs.
- Make Cake Crumbs:
- Crumble cooled cake in a large bowl until it looks like soft, sandy soil; it helps to use your fingers for even texture.
- Combine with Frosting:
- Add frosting little by little, mixing until the dough clumps tightly—stop as soon as you can form a ball.
- Shape Cake Balls:
- Scoop tablespoon-sized portions and roll gently into balls, making them uniform for even coating and display.
- Chill:
- Set cake balls on a lined sheet, cover, and refrigerate for at least an hour or freeze for twenty minutes to firm them up.
- Melt & Prep Coating:
- Microwave candy melts or chocolate in short bursts, stirring between sessions, and add shortening if the mixture seems thick.
- Attach Sticks:
- Dip the tip of each stick into melted chocolate, then press halfway into each chilled cake ball—this 'glues' them on.
- Dip Cake Pops:
- Submerge pops fully, swirling gently, and tap off excess before placing them upright in a styrofoam block to set.
- Decorate:
- Sprinkle immediately with school colors, and press fondant squares plus mini chocolate chips for caps and tassels while the coating is still soft.
- Let Set & Serve:
- Allow cake pops to harden and cool before displaying—watch the glittering colors catch the light as guests arrive.
 Save Pin
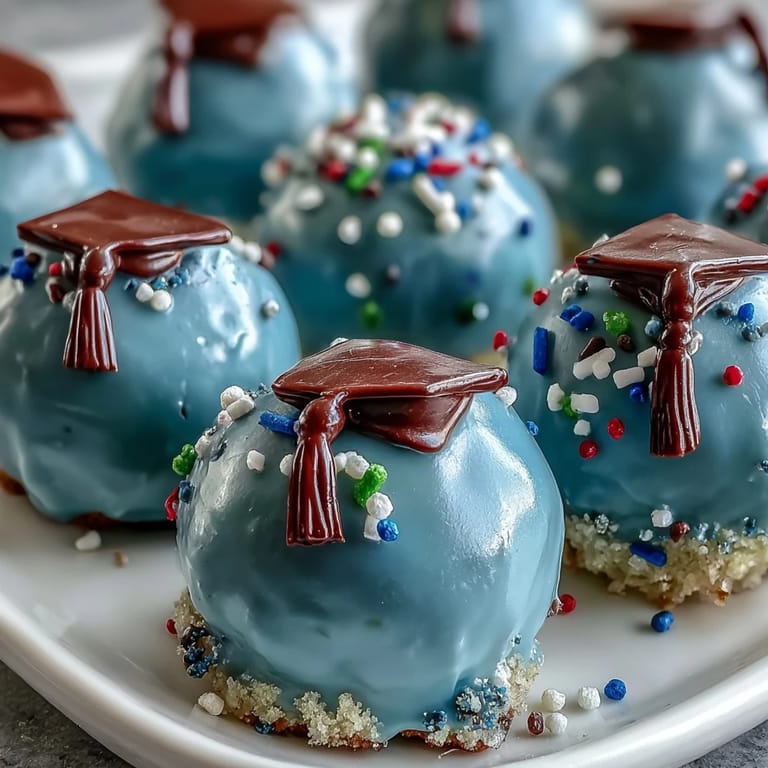
 This recipe transformed from dessert to centerpiece the day I watched friends jump up to grab their own, laughing over whose pop looked most like their graduation cap. That moment—sharing bite-sized celebration and joy—reminded me how food marks milestones just as much as photos or speeches.
Making It Your Own: Color & Flavor Ideas
Don't be shy about personalizing these cake pops. Swap in lemon cake for a brighter flavor, or add a dash of almond extract to vanilla batter for sophistication. Pick candy melts in bold hues or blend two colors for a marbled look, and even edible markers let you inscribe graduation years or initials. Get creative with decorations—there's no wrong answer when it's made for a party.
Troubleshooting Cake Pop Woes
I learned the hard way that humidity in the kitchen can make candy melts inconsistent—sometimes too thick, sometimes streaky. If your coating cracks or looks dull, try warming chocolate in smaller batches or stirring in extra shortening until you reach a glossy finish. It's also helpful to let cake pops sit for a few minutes after shaping before dipping; this gives them extra stability.
Serving & Storing for the Big Day
These pops set up best in a styrofoam block, but if you don't have one, an upside-down egg carton works surprisingly well in a pinch. Arrange them in jars or flower pots for a festive touch at school parties or graduations. Leave enough room so decorations aren't smudged—you may find yourself tempted to sample before the guests arrive.
- Store in airtight containers for peak freshness.
- Keep chilled for longer shelf life, but allow pops to come to room temperature before serving.
- Decorate just before the event to prevent fading or melting.
 Save Pin
 Cake pops never fail to bring smiles—especially when dipped, decorated, and shared in celebration. Hoping these colorful creations make your graduation or party just a little sweeter.
Recipe Questions
- → How do I match cake pops to my school's colors?
Use candy melts or white chocolate tinted with food coloring to achieve your school's colors. Decorate with matching sprinkles or fondant.
- → Can I make these pops ahead of time?
Yes, they keep for up to 3 days at room temperature or up to a week refrigerated in an airtight container.
- → Can I use homemade cake?
Homemade cake works great! Ensure it's fully cooled before crumbling for best texture.
- → How do I get a smooth candy coating?
Melt chocolate slowly and add vegetable shortening if needed for a smoother, thinner coating.
- → How can I make these gluten-free?
Swap regular cake mix for gluten-free and verify all other ingredients meet your dietary needs.
- → What decorations can be used?
Try sprinkles, colored sugar, edible glitter, fondant shapes, or mini chocolate chips for special graduation touches.