 Save Pin
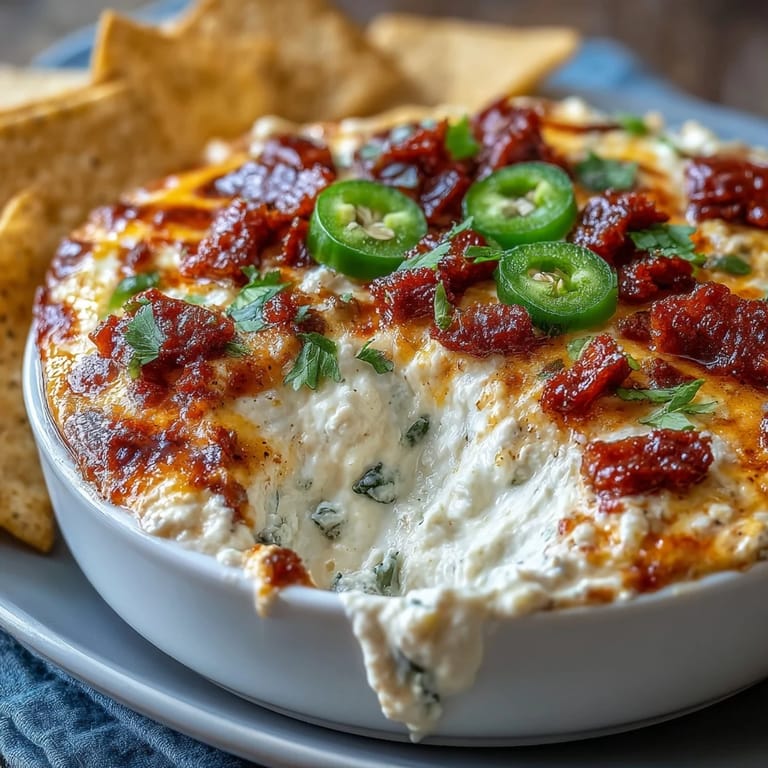
 My neighbor Maria brought this queso dip to a backyard gathering last May, and I watched it disappear faster than the chips could be refilled. She caught me sneaking a third helping straight from the skillet and just smiled, handing me the recipe scribbled on the back of an old grocery list. Now whenever I make it, I think of that afternoon—the way the gooey cheese caught the sunset, how everyone abandoned their conversations to cluster around the cast iron. It's become my go-to move at any gathering, the kind of dish that makes people linger longer than they planned.
I'll never forget making this for my daughter's school fundraiser potluck, when I realized halfway through that I'd grabbed Monterey Jack instead of the Jack cheese I'd planned. Instead of panicking, I just used both, and honestly, it turned out richer and more complex than any batch I'd made before. The science of it didn't matter—what mattered was that kids who normally pushed cheese aside were asking for seconds, and parents were actually requesting the recipe. That's when I knew this wasn't just a party dip; it was something people genuinely craved.
Ingredients
- Unsalted butter: Just 2 tablespoons creates the roux base that thickens everything without overpowering the cheese flavor.
- Cornstarch: This is your secret to silky, lump-free queso that won't break or get grainy when it sits.
- Whole milk: Don't use skim or 2%—the fat is what makes the sauce luxurious and clingy to your chips.
- Shredded sharp cheddar cheese: Sharp cheddar brings actual flavor depth; mild cheddar will leave your dip tasting flat and one-note.
- Monterey Jack cheese: This softens faster than cheddar and adds creamy texture without muting the cheese taste.
- Cumin, chili powder, and smoked paprika: Together these create that authentic Mexican flavor without needing a dozen spices cluttering your pantry.
- Cayenne pepper: Optional but honestly necessary if you want people to remember this as more than just melted cheese.
- Fresh Mexican chorizo: The real stuff, with the casing removed—it browns up with its own spice and richness that's completely different from breakfast chorizo.
- Pico de gallo: Homemade is fresher, but store-bought works when you're short on time and dignity.
- Jalapeños: Fresh if you can find them, pickled if you're worried about heat levels—both work beautifully.
- Sour cream: A dollop on top adds a cool, tangy contrast that makes every bite more interesting.
- Fresh cilantro and green onions: These aren't just garnish; they're the brightness that keeps the richness from feeling heavy.
- Avocado: Optional but worth it if you can find one that's ripe without being mushy.
Tired of Takeout? 🥡
Get 10 meals you can make faster than delivery arrives. Seriously.
One email. No spam. Unsubscribe anytime.
Instructions
- Brown the chorizo first:
- Heat your skillet and let the chorizo sizzle until it's deep brown and broken into small crumbly pieces. The fat that renders out is flavor gold, so drain it but don't waste it—you'll understand why once you taste the depth it adds.
- Make your roux:
- Melt butter and whisk in cornstarch until it's bubbling and smooth, about 1 minute of constant whisking. This step takes barely any time but makes the entire difference between a broken, oily mess and something silky and cohesive.
- Slowly build your base:
- Whisk in milk gradually while stirring constantly, watching it thicken slightly over 2 to 3 minutes. The gradual approach prevents lumps and gives you control over the final consistency.
- Melt your cheese gently:
- Once the base is ready, reduce heat to low and stir in both cheeses slowly, letting them melt completely before adding spices. Low heat keeps the cheese silky instead of grainy or separated.
- Season to taste:
- Add cumin, chili powder, paprika, salt, and cayenne if you're using it, tasting as you go. What seems mild at first blooms as it cools slightly, so go easy on the heat.
- Transfer to your serving vessel:
- Pour the hot cheese into your serving dish or cast iron skillet while it's at peak temperature. Cast iron keeps everything warm throughout your party without requiring you to babysit it.
- Top immediately:
- Layer the chorizo, pico de gallo, jalapeños, sour cream, cilantro, green onions, and avocado while the queso is still steaming hot. The warmth slightly softens the toppings and melds the flavors together.
 Save Pin
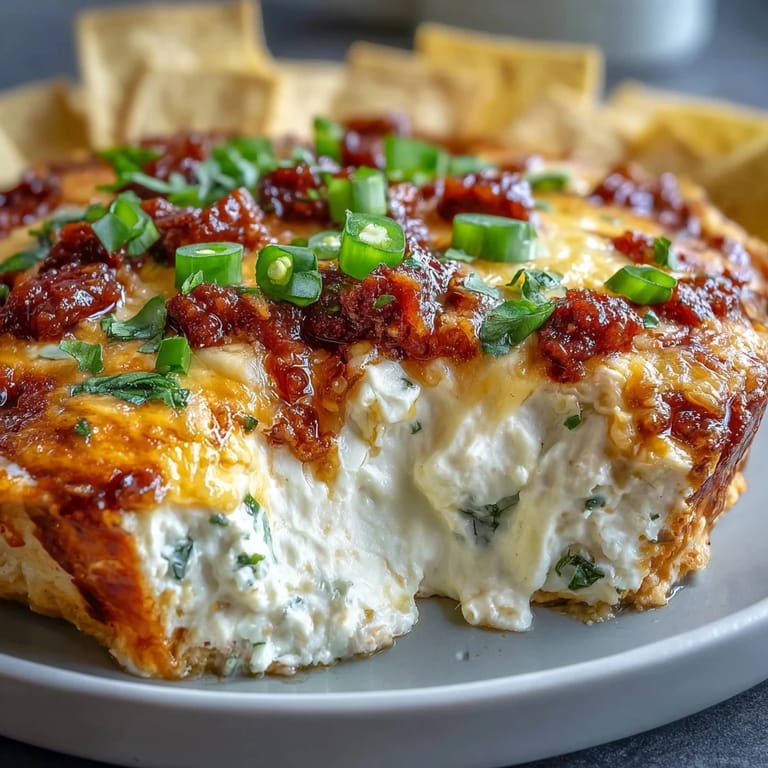
 The real magic of this dip happened at my cousin's wedding reception when someone's elderly grandmother asked for the recipe—not just asked, but demanded it, like she was uncovering state secrets. Watching three generations of women huddled around the kitchen counter, talking about how to make it their own, reminded me that food like this brings people together in ways fancier dishes never could. It's humble enough to belong at a casual gathering but good enough to shine anywhere.
The Cast Iron Advantage
If you have a cast iron skillet, use it for serving—the iron retains heat like nothing else and keeps your queso at that perfect warm temperature throughout your party. I learned this by accident when I poured queso into a ceramic dish and watched it start separating and thickening within 20 minutes, while a cast iron version stayed dreamy and pourable for hours. The visual appeal doesn't hurt either; there's something about queso bubbling gently in cast iron that just signals celebration.
Customizing Your Heat Level
Not everyone at your party wants their face melted off, so the beauty of this dip is how easily you can adjust spice without sacrificing flavor. The base cheese sauce has just enough heat to hint at something more, and then the jalapeños and cayenne become optional garnishes that people can pile on according to their tolerance. I've learned to always offer jalapeños on the side and let people add what they want—it's more inclusive and actually means people come back for more instead of nursing one cautious chip and regretting it.
Make It Your Own
The beauty of this recipe is that it's a foundation, not a rulebook. Once you make it a few times and understand how the cheese sauce works, you'll start seeing endless possibilities for toppings and flavor combinations. Some of my favorite variations have come from working with what I had on hand—roasted poblano peppers instead of jalapeños, crispy bacon bits instead of chorizo, or fresh corn when I couldn't find good pico de gallo.
- Try it with crumbled carnitas for a richer, slower-cooked alternative to chorizo.
- Black beans mixed with sautéed mushrooms makes an excellent vegetarian version that's just as satisfying as the meat version.
- Keep a slow cooker on low underneath if you're serving for more than 90 minutes—it'll keep everything warm without you having to remake the sauce.
 Save Pin
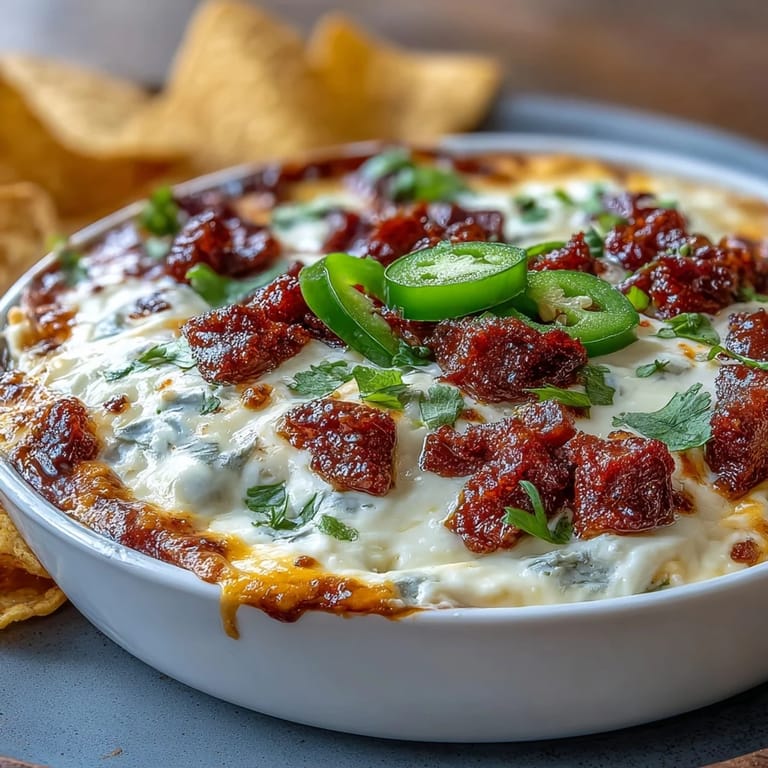
 Every time I make this, I understand a little more why people keep coming back to the same recipes, the same flavors, the same moments of connection. This isn't fancy cooking, but it is genuine, and that's what matters.
Recipe Questions
- → How do you prevent the cheese sauce from separating?
Constant stirring and gradual whisking of milk into the cornstarch mixture helps maintain smoothness and prevents separation.
- → Can I make this dip vegetarian?
Yes, omit chorizo or replace it with black beans or sautéed mushrooms for a flavorful vegetarian variation.
- → What types of cheese are best for this dip?
Sharp cheddar and Monterey Jack cheeses melt smoothly and offer a balanced creamy flavor.
- → How spicy is this dip, and can I adjust the heat?
The dip has moderate heat from jalapeños and cayenne pepper, which can be adjusted by adding more or less to suit your taste.
- → What is the best way to keep the dip warm during events?
Keeping the queso warm in a slow cooker on the lowest setting preserves its creamy texture and heat throughout gatherings.
- → Are there gluten-free considerations?
Use gluten-free tortilla chips to ensure the dip remains gluten-free, as some chips may contain gluten.