 Save Pin
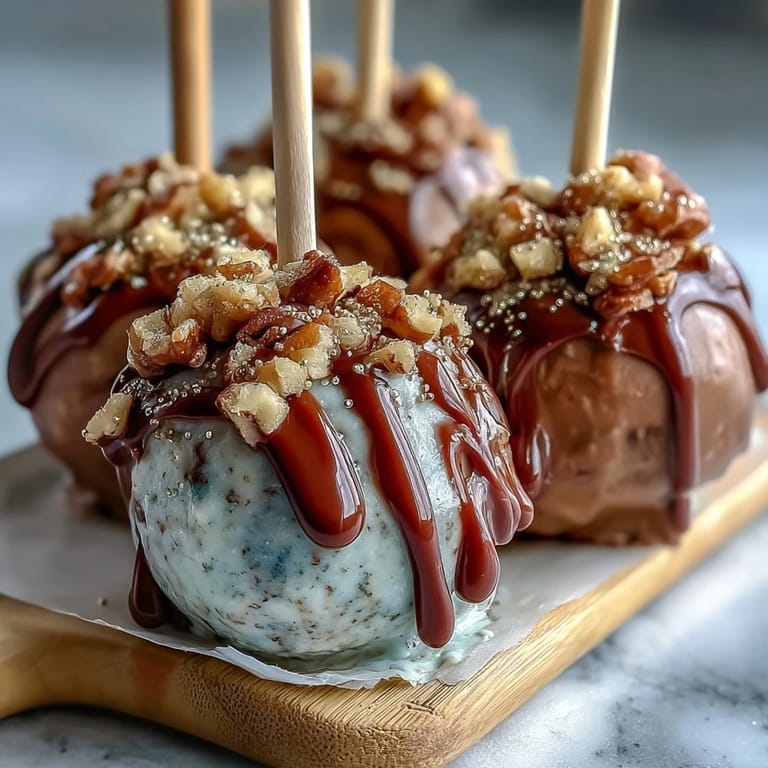
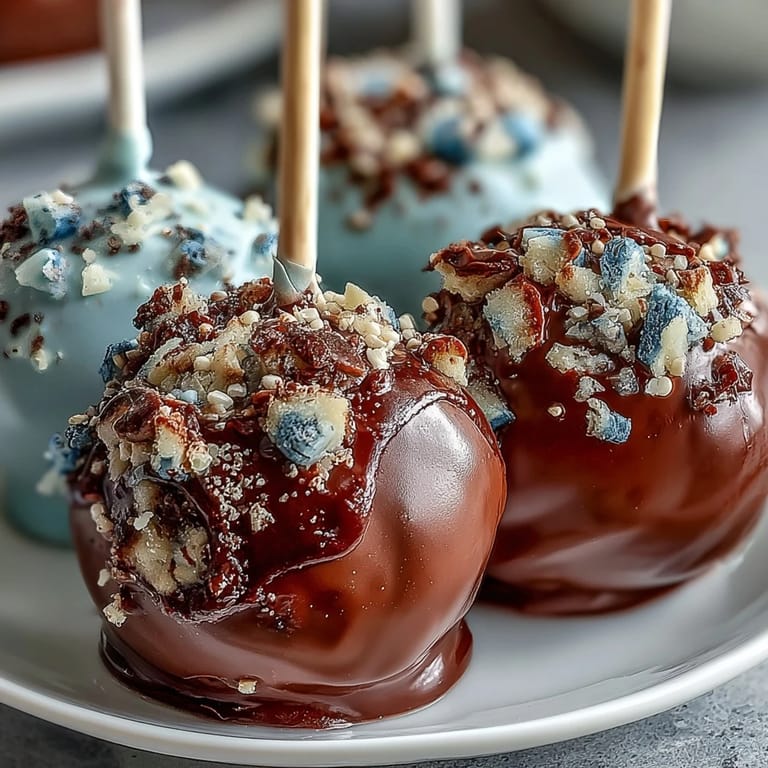
 My sister called me three weeks before graduation, voice bright with that particular excitement only big milestones bring, asking if I could make something special for her celebration party. She wanted cake pops in our high school colors—burgundy and gold—something that felt both grown-up and nostalgic at the same time. I'd never made cake pops before, but watching her describe exactly how she pictured them, I knew I had to try. There's something about creating food specifically for someone's moment that makes the whole process feel less like a recipe and more like a small act of love.
That afternoon in my kitchen, I had my sister sit at the counter with a glass of lemonade while I worked through the first batch. She kept offering suggestions—deeper burgundy here, more sparkle there—and we laughed when I accidentally knocked over the gold sprinkles and they went absolutely everywhere. By the time I'd finished the whole box, my kitchen looked like it had snowed glitter, and somehow that felt exactly right for marking a milestone that mattered.
Ingredients
- Vanilla or chocolate cake mix: The foundation here—I learned that quality doesn't matter as much as you think since you're breaking it down completely anyway, so whatever's in your cupboard works.
- Unsalted butter: Use soft butter because cold butter fights you when you're trying to beat it creamy, and you'll end up with little stubborn lumps that never quite cooperate.
- Powdered sugar: This is essential because it dissolves and blends smoothly, unlike granulated sugar which would give your frosting a grainy texture.
- Milk and vanilla extract: The milk thins the frosting just enough to make it spreadable, while vanilla gives it depth so it doesn't taste one-dimensional.
- Candy melts in school colors: Candy melts (sometimes called melting chocolate or coating chocolate) are different from real chocolate—they're formulated to set smoothly and don't require tempering, which is why they're perfect for this.
- Vegetable shortening or coconut oil: Adding a little fat makes the candy melts flow like silk when you dip, preventing that thick, uneven coat that happens with straight melted candy.
- Gold sprinkles or edible glitter: This is where the celebration lives—don't skip it or you lose that magical sparkle that makes people actually gasp when they see them.
- Lollipop sticks: These need to be sturdy enough to hold the weight of a cake pop without bending, so don't grab the flimsy ones.
Tired of Takeout? 🥡
Get 10 meals you can make faster than delivery arrives. Seriously.
One email. No spam. Unsubscribe anytime.
Instructions
- Bake your cake completely:
- Follow the package directions and let the cake cool all the way down—this is non-negotiable because warm cake becomes a sticky mess when you try to crumble and form it. If you're in a hurry, let it sit in the fridge for 15 minutes to speed things up.
- Make frosting that actually tastes like something:
- Beat the butter until it's light and fluffy, which takes about 2 minutes and actually makes a difference in texture. Add the sugar gradually so it incorporates smoothly instead of sending a powdered sugar cloud into your face.
- Crumble and mix with intention:
- Break the cake into small pieces and mix it with frosting until it holds together but isn't wet—this balance is everything because too much frosting makes them fall apart when you dip them. Start conservative with the frosting and add more if needed.
- Roll balls that are actually uniform:
- Rolling them all roughly the same size matters because smaller ones cook faster and larger ones take longer, so having consistency means they look professional on display. Use a tablespoon measure or cookie scoop to keep them even.
- Chill them properly before the next step:
- An hour in the fridge or 30 minutes in the freezer is non-negotiable—warm cake balls are floppy and will fall off the stick. Cold ones hold their shape and dip cleanly.
- Secure those sticks with intention:
- Dipping the stick tip in melted candy first creates an anchor so the stick doesn't wiggle loose inside the cake ball when you're dipping. Push it in about halfway, not all the way through.
- Dip with confidence and a gentle touch:
- The candy coating should slide on in one smooth motion—hesitating or dunking multiple times creates drips and an uneven finish. A gentle tap removes excess without creating a bare spot.
- Decorate while the coating is still soft:
- Sprinkles stick beautifully to warm candy but barely stick at all once it's hardened, so work quickly. If you wait too long, you can always use edible glue or a bit of frosting to make them stay.
 Save Pin
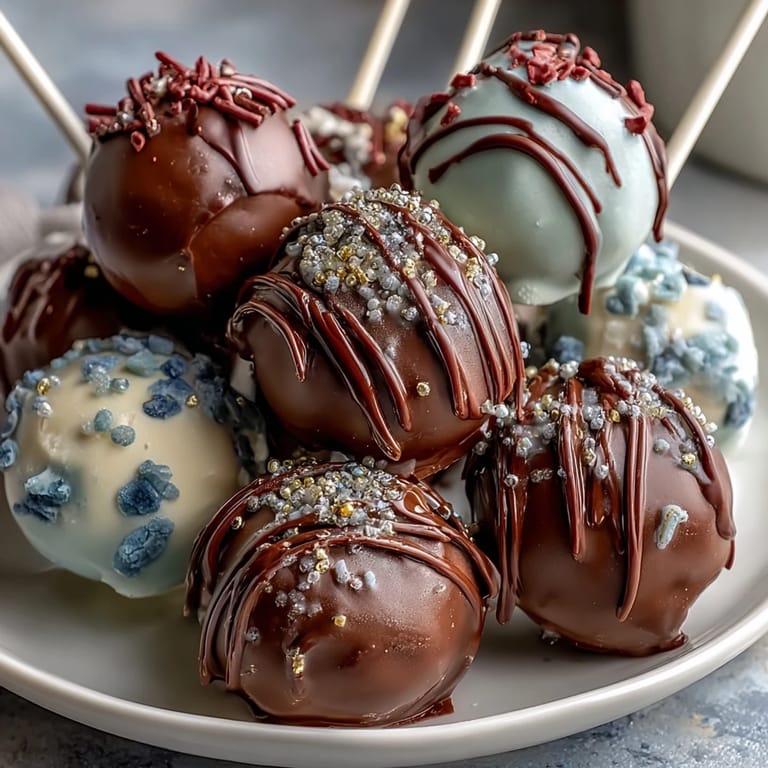
 When my sister opened the box at her party and saw all 24 cake pops arranged in their burgundy and gold glory, she literally gasped and took about a hundred pictures before anyone ate a single one. That moment—when something handmade and thoughtful becomes a memory rather than just a dessert—that's the real reason to make these.
Choosing Your School Colors Wisely
The magic of these cake pops is that they celebrate something specific about your moment, and the colors make that visual. I discovered that if your school colors are very close (like navy and black), you can use one color and add white drizzle to create contrast instead of fighting to make two similar shades look distinct. If you're working with bright colors like gold and purple, they sing together beautifully with no extra effort.
The Frosting-to-Cake Ratio That Actually Works
This took me three batches to figure out—you need enough frosting to hold everything together but not so much that the cake pops become floppy mush that won't hold its shape when dipped. Start with half a cup of frosting mixed into your crumbled cake, then add more a tablespoon at a time, testing as you go by squeezing a small handful to see if it holds. The mixture should feel like damp cookie dough, not like frosting.
Making Them Look Professional
The difference between homemade-looking and bakery-looking comes down to small details that seem silly but genuinely matter. A Styrofoam block to hold them upright while they dry keeps them level and prevents that weird lean some cake pops develop, a coating of vegetable shortening in your candy melts makes the finish glossy instead of matte, and waiting until the first coat is completely hard before a second coat of sprinkles makes them look intentional rather than hastily decorated.
- Let the candy coating harden completely in a cool room before packaging—a warm room will leave fingerprints in the coating and make them look handled.
- If you're making these ahead, store them in an airtight container at room temperature for up to three days, or in the refrigerator for a week.
- The gold sprinkles are worth the investment because they catch the light and make the whole batch look celebratory even if one cake pop is slightly lopsided.
 Save Pin
 These cake pops are more than a dessert—they're a way to make someone's celebration taste as special as it feels. I still have a photo my sister sent me of those pops at her party, surrounded by smiling people, and that's the whole reason to make them.
Recipe Questions
- → How do I ensure cake pops hold together well?
Mix the crumbled cake with frosting gradually until the mixture is moist but firm enough to shape. Chill the balls thoroughly before dipping.
- → What’s the best way to melt candy coating evenly?
Use microwave-safe bowls and heat in short intervals, stirring frequently to avoid burning and achieve a smooth consistency.
- → Can I customize colors other than school themes?
Yes, candy melts come in various colors. Mix and match to suit your event or personal preference.
- → How do gold sprinkles stick to the coating?
Sprinkle the gold accents immediately after dipping while the coating is still wet, allowing them to adhere firmly as it sets.
- → What’s the best storage method for maintaining freshness?
Store in an airtight container at room temperature for up to 3 days or refrigerate for up to one week to preserve texture and flavor.