 Save Pin
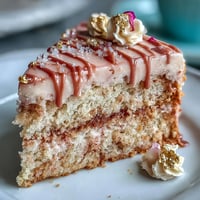
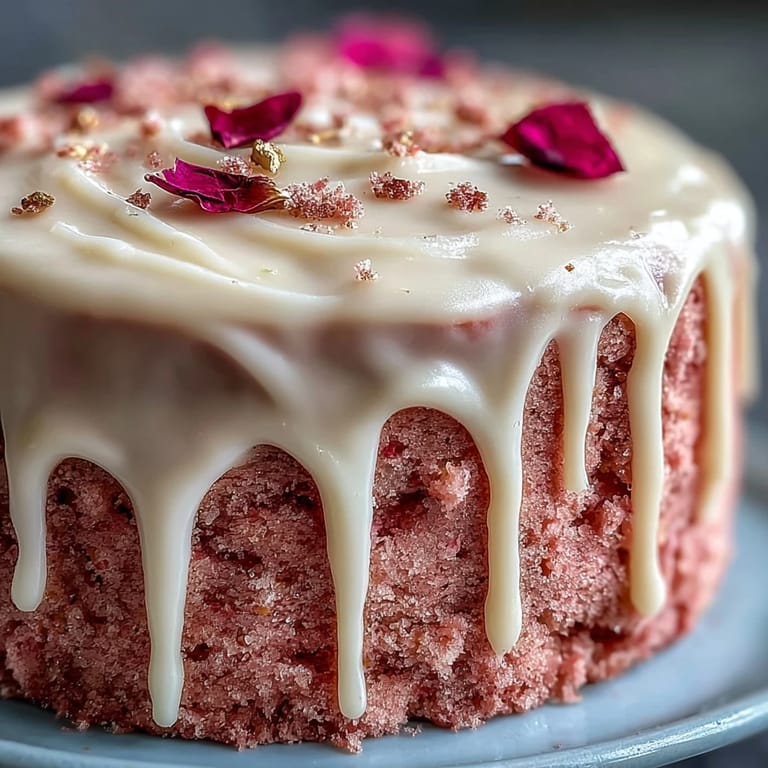
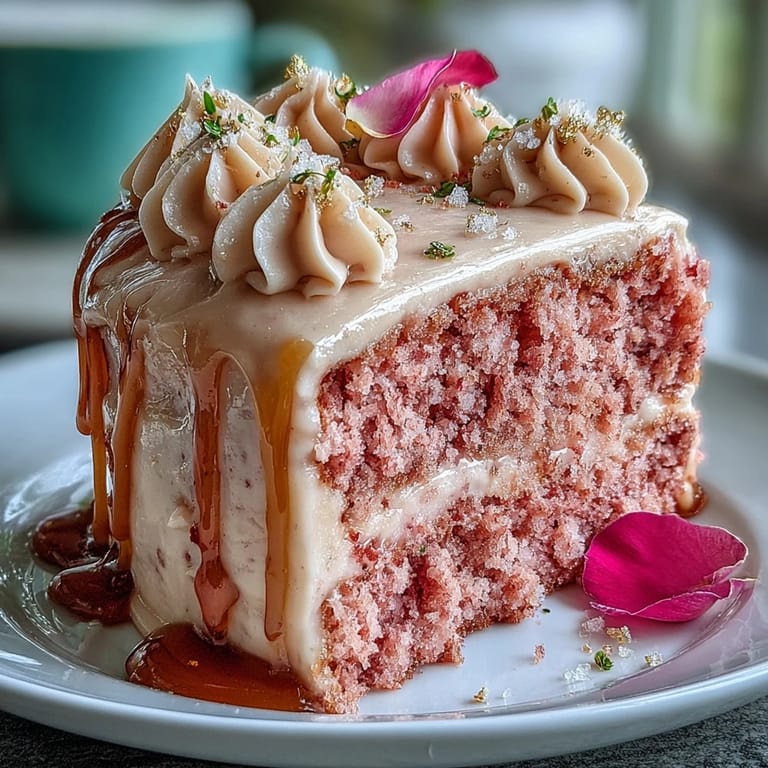
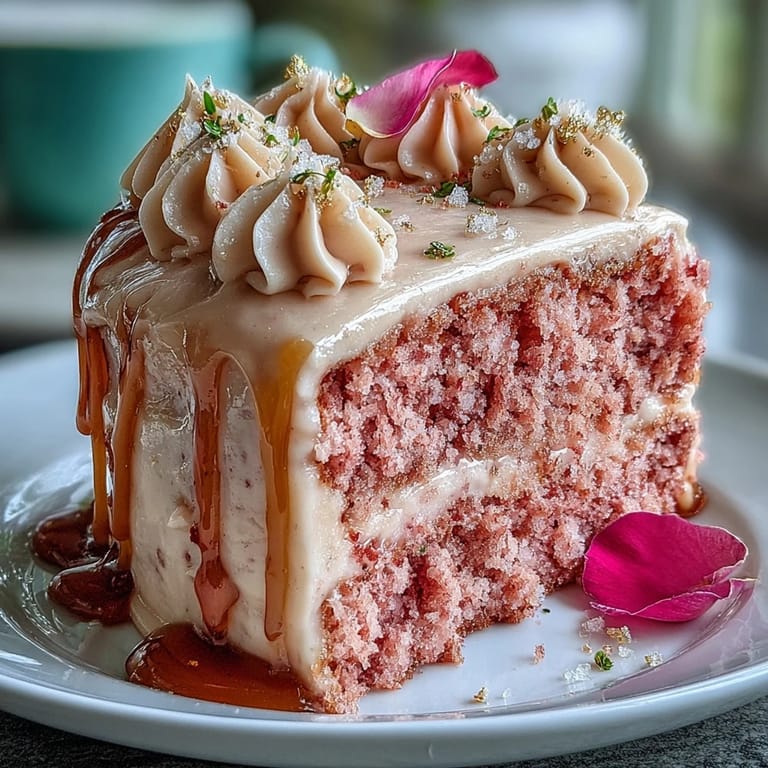
 Some cakes have a way of marking a moment, and this Rosé Velvet Cake always takes me back to the gentle hum of laughter and the tinkling of glasses in a sunlit kitchen. The first time I made it, I was drawn in by the delicate rosy hue that bloomed as I stirred in the food coloring, filling the air with a whiff of vanilla and cocoa. There’s something quietly confident about a cake that stands tall in pastel blush, shimmering with gold. The scent of warm cake mingled with a hint of wine is celebratory without being over-the-top. When you cut into those velvety layers, you realize every part of it is crafted to make an occasion shine.
The last bridal shower I baked this for, we ended up decorating with edible flowers and berries, giggling as we turned the kitchen counter into a makeshift assembly line. Someone accidentally swiped frosting onto the dog’s ear, and we all agreed it was the prettiest cake mishap ever. You don’t forget the atmosphere of anticipation as everyone eyes the finished cake, wondering if it tastes as magical as it looks. By the time the first slice hit the plate, it felt like we’d all pulled off a tiny feat of kitchen alchemy together. It’s the kind of memory the bride still brings up when the photos come out.
Ingredients
- All-purpose flour: Creates a tender but sturdy crumb so your cake doesn’t collapse under all the gorgeous frosting and gold drip.
- Granulated sugar: Gives structure as well as sweetness; I weigh it for precision since too much makes the cake dense.
- Baking soda & baking powder: The combo delivers a noticeable lift—my cakes finally stopped sagging in the middle when I measured both correctly.
- Salt: A pinch amplifies every flavor, especially with the rosé and chocolate notes.
- Unsweetened cocoa powder: Deepens the blush tone and rounds out the flavor—dark cocoa made mine too muddy, so regular is best.
- Unsalted butter: Softened just right means easy creaming—if it’s too cold, creaming is a chore.
- Buttermilk: At room temp it ensures a luscious cake, avoiding the dreaded dense layer at the bottom.
- Rosé wine: I go for a fruit-forward bottle that I’d actually sip; it’s subtle but special.
- Eggs: Bring structure and rich color—room temp means they blend in smoothly.
- Vanilla extract: Balances out the floral and cocoa notes—pure extract if you can swing it.
- White vinegar: Reacts with the baking soda for that classic velvet texture.
- Pink food coloring gel: I add it gradually, stirring and watching the color bloom so it never goes artificial.
- Cream cheese: Frosting dreaminess depends on it being fully softened; otherwise, the frosting’s lumpy.
- Powdered sugar: Sifted for pillowy smoothness—un-sifted meant clumps I couldn’t rescue, trust me.
- Heavy cream: Melts seamlessly into the white chocolate for the gold drip—no scorched chocolate fiascos since I started using it.
- White chocolate chips: Easy melting and sweet enough to show off that golden shimmer.
- Edible gold luster dust & vodka/clear extract: Painting it on feels a bit fancy but is surprisingly simple, and it dries fast.
Tired of Takeout? 🥡
Get 10 meals you can make faster than delivery arrives. Seriously.
One email. No spam. Unsubscribe anytime.
Instructions
- Prep the pans & oven:
- Grease and line three 8-inch pans, then preheat your oven so it’s properly hot when you’re ready to go.
- Sift and combine dry ingredients:
- Use a mesh sieve to avoid cocoa lumps, watching a tiny cloud form as you shake everything together.
- Cream butter and sugar:
- Beat until pale and fluffy—it should visibly lighten and feel airy on the spatula.
- Incorporate eggs and vanilla:
- Crack eggs in one by one, beating in between, and enjoy the scent as the vanilla blends in.
- Add liquids and blend:
- Pour in buttermilk, rosé, and vinegar, letting the batter look a little curdled—totally normal at this stage.
- Mix in dry ingredients:
- Fold gradually, just until no flour remains so you don’t lose the cake’s lightness.
- Tint the batter:
- Add pink gel, little by little, until you achieve just the right bridal blush shade.
- Bake the layers:
- Divide batter evenly and bake until risen and a tester comes out clean—your kitchen will smell like a hint of summer.
- Cool and prep for frosting:
- Let cakes rest briefly in pans before turning out; they should be fully cool before frosting to avoid a meltdown.
- Make the frosting:
- Beat butter and cream cheese silky, add sugar gradually, then rosé and vanilla for aroma—taste for balance.
- Layer and frost:
- Spread frosting between layers, apply a crumb coat and chill for easier final frosting.
- Create the gold drip:
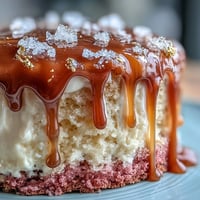
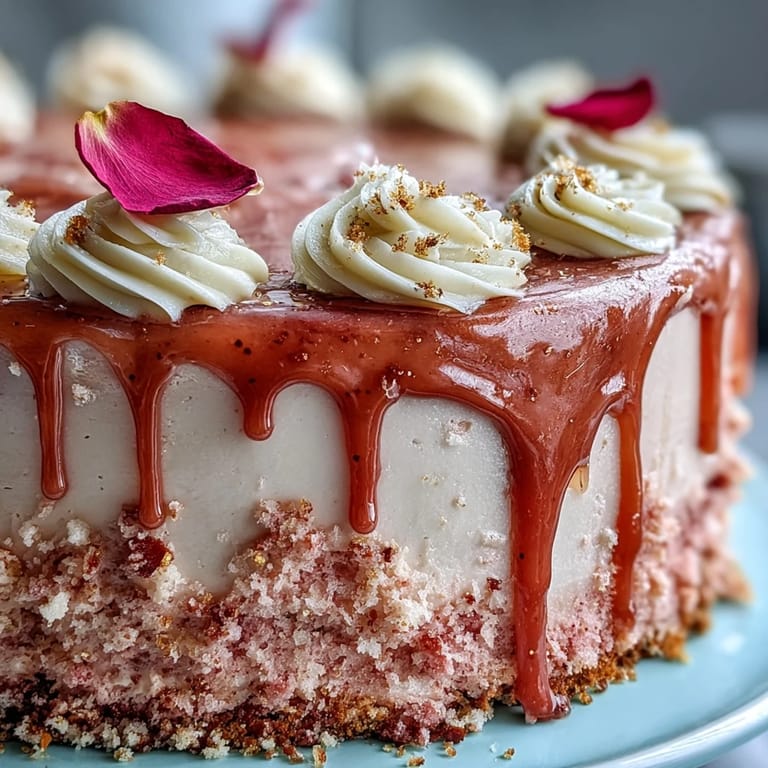
- Melt white chocolate with cream in bursts, cool slightly, then let it drip over the cake’s edges for dramatic flair.
- Paint on the gold:
- Mix luster dust with vodka or extract, then gently brush onto the drip for a gilded finish.
- Chill and serve:
- Refrigerate to set everything; slice and share your masterpiece when ready.
 Save Pin
  Save Pin
 At a friend’s spring garden party, someone raised a glass to the cake, and we all toasted—it was one of those rare afternoons when dessert felt like part of the celebration, not just a finale. I didn’t expect the gold drip to become a conversation piece, but the delight was contagious and turned every slice into a little event.
Decorating Tricks for a Wow Factor
The gold drip is just the start—you can also scatter on edible flowers, arrange a crown of fresh berries, or nestle gold leaf between swirls of frosting. Even if your gold lines aren’t perfect, once the cake’s assembled, it looks like something out of a pastry shop display. Take your time with the final flourishes—they’re part of the theater, and everyone notices the little details.
Making It Ahead (and Keeping It Fresh)
I’ve learned this cake is at its very best when baked and assembled the day before, giving the flavors time to meld. Store it covered in the fridge, then bring to room temperature for about 30 minutes before serving—it slices like a dream and the frosting is just right.
Getting Each Layer Just Right
Leveling the layers may seem fiddly, but it’s the trick for a bakery-worthy look and hassle-free stacking. Don’t worry if your frosting gets a little messy—a quick crumb coat saves the day. If you want a stronger rosé kick, you can brush the cake layers with a touch of wine before assembly and it won’t overpower the delicate flavors.
- Use an offset spatula for smoothest frosting application.
- Chill the cake between major steps to keep everything set.
- Check your edible decor for allergens if serving a crowd.
 Save Pin
  Save Pin
 May every slice of this Rosé Velvet Cake bring you laughter and little moments worth celebrating—after all, it was made with both care and a bit of glamour. Share it generously and let the compliments roll in.
Recipe Questions
- → How can I boost the rosé flavor without making the layers soggy?
Brush each cooled layer lightly with a small amount of rosé or a rose-infused simple syrup. Apply just a thin layer so the crumb stays tender rather than wet; reserve extra for the frosting if you want a stronger floral note.
- → What’s a good non-alcoholic substitute for the rosé?
Use pink or white grape juice, or sparkling grape juice for brightness. Reduce it briefly on the stove to concentrate the flavor before using it in the batter or brushing the layers.
- → How do I get a smooth, controlled gold drip?
Heat white chocolate with cream until smooth, then cool to room temperature so it’s pourable but not runny. Test the consistency on the side of a bowl before dripping. After applying the drip, mix gold luster dust with a small amount of clear extract or high-proof neutral spirit and gently paint the set chocolate for a refined metallic finish.
- → What’s the best way to achieve an even blush color?
Add concentrated gel coloring a little at a time and fold gently to avoid overmixing. Gel dyes provide vibrant color without thinning the batter; stop when you reach the desired soft blush.
- → How can I prevent the frosting from sliding off layers?
Level layers and apply a thin crumb coat, then chill the cake until the coat firms. Use a slightly stiffer final frosting and keep the cake cool while assembling and finishing; a chilled base helps maintain clean edges and prevents sliding.
- → How should the cake be stored and how long does it keep?
Store refrigerated, covered, for up to 3 days. Remove from the fridge 30–60 minutes before serving to allow the frosting to soften and flavors to open. For longer storage, freeze individual slices wrapped tightly and thaw in the fridge overnight.